
Blog
Flooring Transition Terminology: Essential Insights for Designers

Feb
Specifying premium flooring transitions in high-end British residences comes with challenges that even seasoned designers and contractors recognise. Choosing the correct profile demands more than aesthetic flair—it hinges on a grasp of core flooring terminology and mechanical properties that define durability, compatibility, and safety. Whether dealing with solid hardwood or resilient vinyl, mastering these terms empowers you to select transitions that prevent hazards, achieve flawless finishes, and communicate your design vision clearly to both clients and installers.
Table of Contents
- Defining Flooring Transition and Core Terms
- Popular Types of Flooring Transition Profiles
- Key Features and Compatibility Explained
- Correct Usage in Installation Practices
- Common Errors and Terminology Issues
Key Takeaways
| Point | Details |
|---|---|
| Importance of Accurate Terminology | Correct terminology prevents specification errors and installation mistakes. |
| Selecting the Right Transition Profile | Each profile serves a specific purpose; understanding them ensures safety and aesthetics. |
| Material Compatibility Matters | Transition profiles must meet durability and moisture resistance requirements to avoid early failures. |
| Proper Installation is Crucial | Correct substrate preparation and installation techniques are essential for performance and longevity. |
Defining Flooring Transition and Core Terms
Flooring transitions are the physical connections between different floor surfaces where they meet. These aren’t just aesthetic touches—they’re functional solutions that bridge gaps, manage height differences, and create safe, visually coherent spaces. Understanding the terminology is crucial for specifying the right products and communicating effectively with installers and clients.
A flooring transition occurs wherever two different flooring materials meet, such as where carpet meets laminate or vinyl meets hardwood. The challenge stems from the fact that different materials have different thicknesses, heights, and installation requirements. Without proper transitions, you’re left with dangerous trip hazards, unsightly gaps, and materials that deteriorate at their edges. This is why premium solutions matter.
The basic floor covering refers to any finish material applied over the structural base to create a walking surface. Common types include carpet, laminate, vinyl, and natural hardwood. Each material has distinct properties affecting how it transitions to its neighbour. For instance, carpet compression differs from rigid laminate, demanding different transition approaches.
Below the visible flooring lies the subfloor, which provides structural support. Understanding subfloor construction helps designers anticipate height variations and potential installation complications. This foundational knowledge ensures transitions align properly with the overall floor structure.
Here are the core terminology elements you’ll encounter:
- Transition profile – The trim piece that bridges between flooring types
- Threshold – A transition specifically located at doorways
- Ramp or wedge – A sloped transition for uneven floor heights
- Reducer – A transition that steps down from a higher floor to a lower one
- T-mould or T-bar – A transition connecting two floors of equal height
When selecting transitions, consider that resilient floor covering standards establish performance criteria and terminology for vinyl, linoleum, and similar materials. These standards inform installation procedures and material compatibility requirements, guiding your specification decisions.
Premium solid brass transitions with powder-coated finishes outperform cheaper alternatives significantly. Unlike wooden trims that split, plastic trims that crack, rubber trims that discolour, or aluminium trims that dent and bend, solid brass maintains integrity through thermal expansion, foot traffic, and moisture exposure. With hand-finished luxury options in 10 distinct finishes, brass transitions deliver both durability and design flexibility.
Accurate terminology prevents specification errors, installation mistakes, and client misunderstandings during complex multi-surface projects.
Designers often confuse transition terminology, leading to incorrect product orders and installation delays. Knowing whether you need a reducer, ramp, or T-mould prevents costly mistakes. Each serves a distinct purpose, and mixing them compromises both safety and aesthetics.
Pro tip: Create a simple site-plan legend documenting exact transition types and locations at each junction point. This prevents on-site confusion and ensures installers fit the correct profiles without interpretation errors.
Popular Types of Flooring Transition Profiles
Every flooring project involves junctions where different materials meet, and each junction demands a specific profile type. Understanding the distinct characteristics of each profile ensures you specify the correct solution for your design challenge. The wrong profile undermines both safety and aesthetics, so accuracy matters.
T-moulds connect two floors of equal height, creating a clean visual line where materials meet. These work beautifully where carpet transitions to hardwood or laminate to vinyl at matching levels. The “T” shape straddles both flooring edges, providing stability and a refined finished appearance that elevates the overall design.
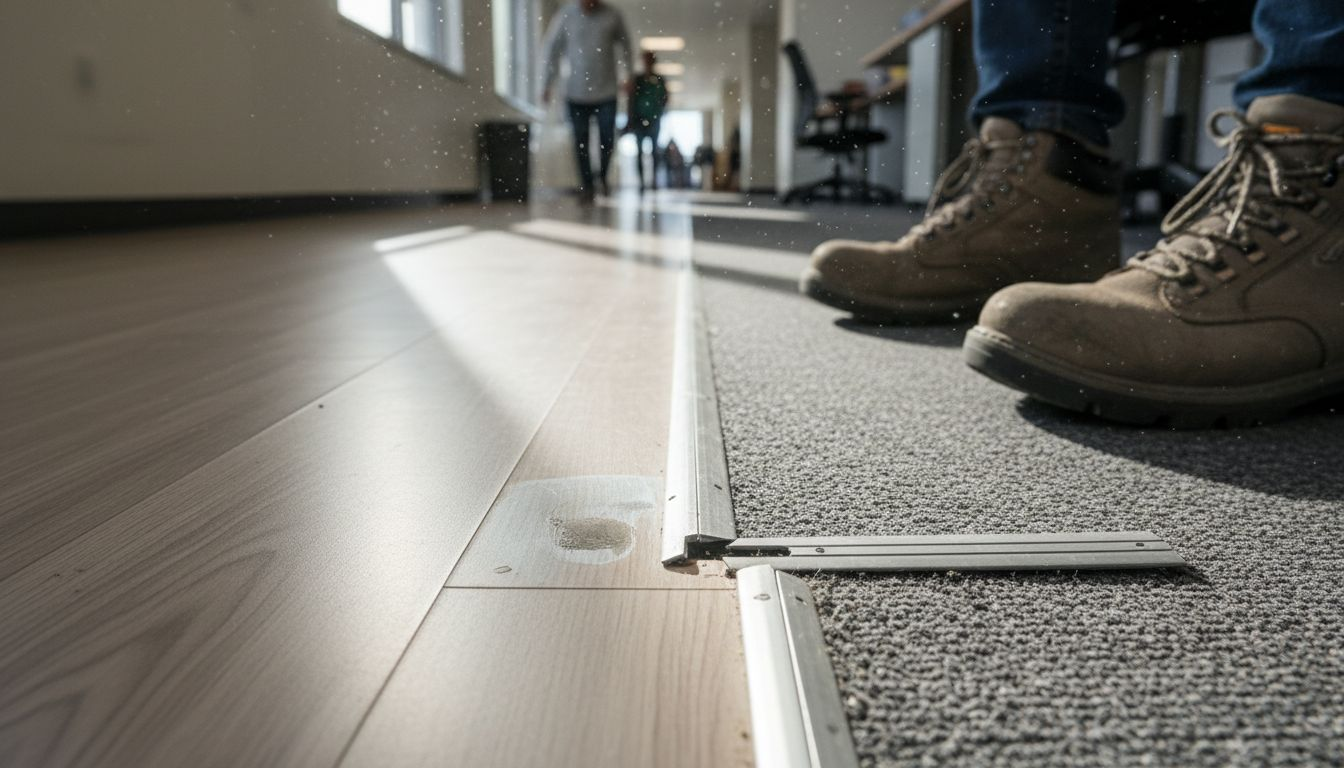
Reducers step down from a higher floor to a lower one, managing the height difference smoothly. This profile works where laminate meets tile, or where hardwood sits higher than carpet. The angled slope prevents tripping whilst maintaining visual continuity across the elevation change.
Thresholds sit specifically at doorways, bridging between rooms and managing both height differences and temperature transitions. They’re structural workhorses in high-traffic areas, bearing constant foot traffic and providing a defined entry point. Thresholds must withstand significant stress and moisture exposure.
Stair nosing protects stair edges and creates safety lines on stairs or step-downs. The pronounced profile clearly marks the transition, reducing accident risk. This is particularly important in residential settings where safety codes demand visible step definition.
Here’s how each profile compares:
To clarify the differences and best uses, here is a comparison of common flooring transition profiles:
| Profile Type | Best Application | Key Benefit | Common Mistake |
|---|---|---|---|
| T-mould | Equal height floor junctions | Clean, seamless join | Used for height changes |
| Reducer | Higher to lower floor surfaces | Smooth step-down | Used for large slopes |
| Threshold | Doorways, room entrances | Handles moisture, traffic | Mislabelled as ramp |
| Stair nosing | Stair edges | Improves stair safety | Installed incorrectly |
| Ramp/Wedge | Large height differences | Accessible, gentle slope | Used for slight changes |
- T-moulds – Equal height transitions, decorative and functional
- Reducers – Height steps down, angled approach to elevation changes
- Thresholds – Doorway transitions, handles height and environmental barriers
- Stair nosing – Step protection, safety-focused edge definition
- Ramps or wedges – Gentle slopes for accessibility, uneven floor compensation
Transition profile specifications ensure your selections meet industry standards for compatibility, durability, and safety across different material combinations. These technical guidelines inform which profiles work with specific flooring types.
Solid brass profiles with powder-coated finishes outperform alternatives dramatically. Wooden trim splits under moisture and foot traffic. Plastic cracks easily. Rubber discolours and stains. Aluminium dents, bends, and deteriorates. Premium brass maintains its form through thermal expansion, temperature swings, and years of daily use. With 10 hand-finished luxury options, brass delivers durability without compromising design aesthetics.
Specifying the correct profile type prevents installation errors, safety hazards, and costly rework on-site.
Many designers mix profile types or choose options based solely on appearance rather than function. This creates problems during installation and disappoints clients when results don’t match expectations. Each profile serves a specific purpose, and respecting those boundaries ensures professional outcomes.
Pro tip: Create a transition schedule on your floor plans that specifies profile type, finish, and installation method at every flooring junction, preventing on-site confusion and ensuring seamless execution.
Key Features and Compatibility Explained
Transition profiles must work harmoniously with surrounding flooring materials, and that demands understanding core mechanical and functional features. Compatibility isn’t merely about fitting physically—it’s about performance, durability, and meeting accessibility standards. Get this wrong, and your installation fails prematurely regardless of product quality.
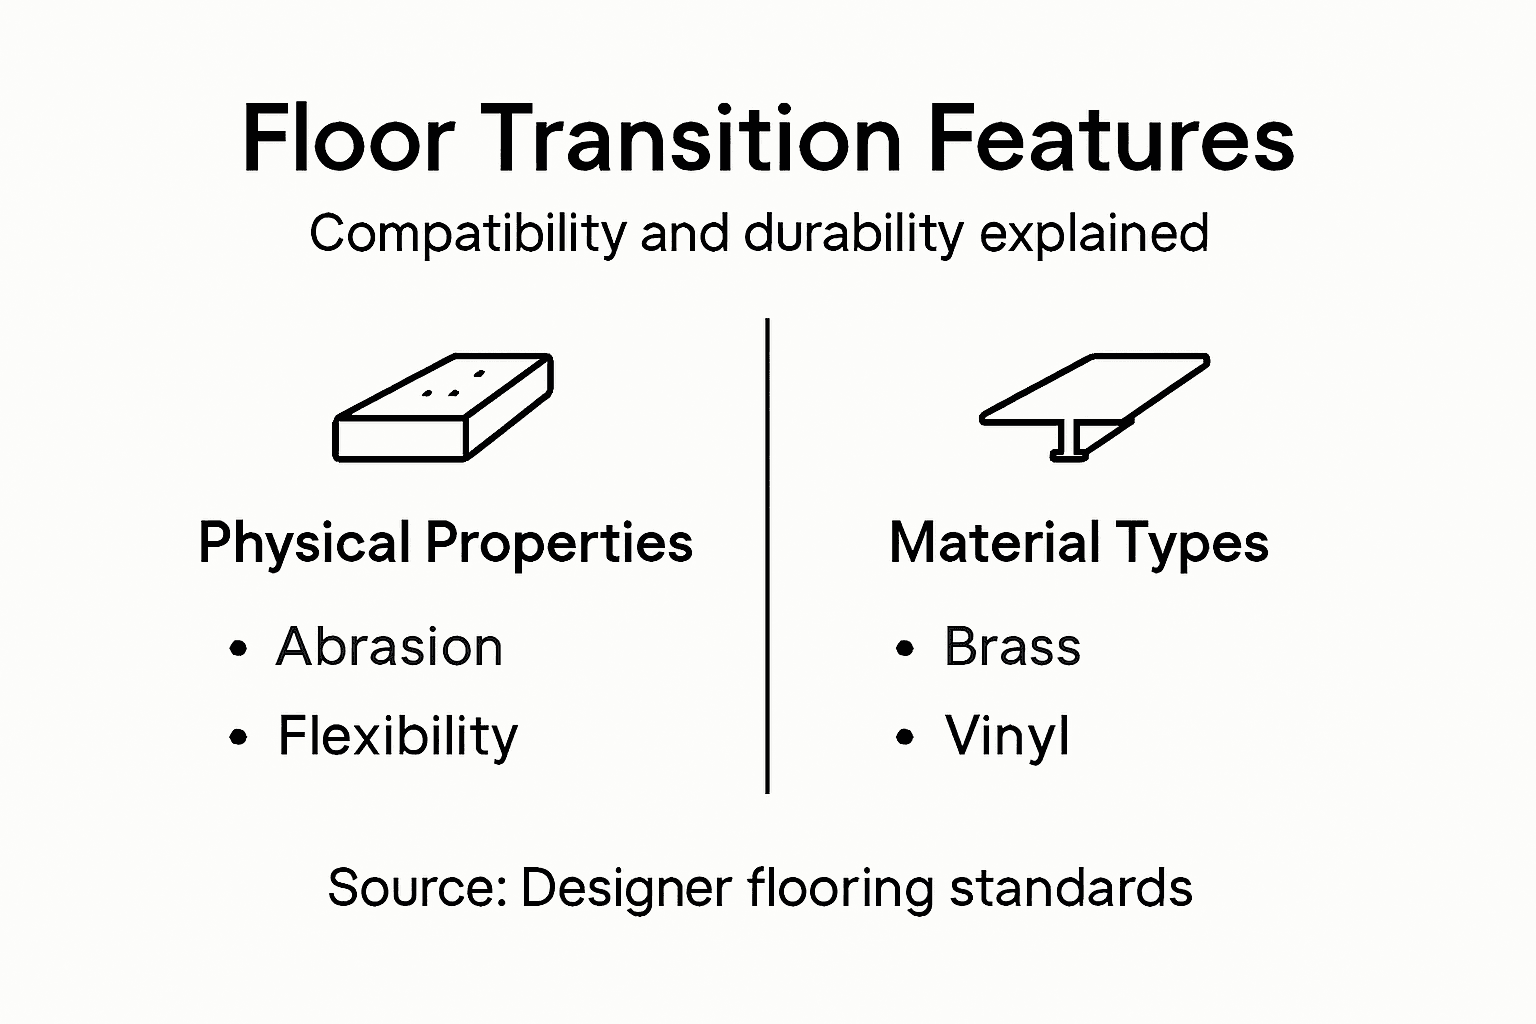
Abrasion resistance determines how well a transition withstands daily foot traffic without degrading surface finishes. High-traffic areas like hallways demand profiles with superior resistance to scuffing and wear. Lower-traffic zones tolerate slightly less robust specifications, but residential applications generally require substantial durability.
Flexibility describes how a profile accommodates movement between materials with different expansion rates. Solid brass excels here—it flexes slightly with thermal changes whilst maintaining structural integrity. Rigid materials like certain plastics crack under stress, whilst flexible materials like rubber deteriorate.
Moisture resistance prevents swelling, warping, and corrosion when transitions encounter spills or humidity. Bathrooms and kitchens demand exceptional moisture performance. Wooden trims absorb water and swell. Brass resists moisture completely, making it ideal for challenging environments.
Slip resistance matters significantly for accessibility and safety. Transition surfaces must provide adequate slip resistance to protect users with mobility aids and prevent accidents in wet conditions. The profile surface texture directly influences this critical safety feature.
Key compatibility features include:
- Firmness and stability – Prevents wobbling or movement underfoot
- Surface texture – Provides grip without being rough or uncomfortable
- Height matching – Aligns properly with adjoining flooring levels
- Material compatibility – Works with specific flooring types without chemical reactions
- Thermal expansion – Accommodates temperature-induced size changes
When selecting transitions, mechanical properties like abrasion and impact resistance ensure durability across different material combinations. Understanding these specifications prevents costly incompatibility issues during installation.
Solid brass profiles excel across all compatibility metrics. The material naturally resists abrasion, flexes appropriately with thermal changes, and repels moisture completely. Hand-finished options in 10 luxury finishes provide slip-resistant textures whilst maintaining aesthetic appeal. Unlike plastic, wood, rubber, or aluminium alternatives, brass demands no compromise between performance and design.
The table below summarises key features of durable transition materials to guide specification decisions:
| Material | Durability | Moisture Resistance | Maintenance Needs |
|---|---|---|---|
| Solid brass | Excellent (resists dents) | Does not corrode or swell | Minimal, wipe clean |
| Aluminium | Prone to denting | Can corrode, especially if uncoated | Occasional cleaning |
| Wood | Splits under load | Swells with moisture | Needs refinishing |
| Plastic | Cracks under impact | Poor, can deform | May stain, replace |
| Rubber | Wears, discolours | Good, but stains easily | Frequent cleaning |
Compatibility failures rarely show during initial installation—they emerge months later as materials deteriorate at transition points.
Designers sometimes overlook how different flooring materials expand and contract at different rates. This thermal mismatch causes transitions to gap, flex, or fail. Brass accommodates these movements gracefully, maintaining performance under real-world conditions.
Pro tip: Request technical specifications for slip resistance (measured as coefficient of friction) and thermal expansion data before specifying any transition profile, ensuring your selection meets both safety and durability requirements for the specific project environment.
Correct Usage in Installation Practices
Proper installation of flooring transitions separates professional results from amateur mistakes. Even premium brass profiles fail if installers don’t follow correct procedures. The substrate preparation, measurements, and fitting techniques determine whether transitions perform as designed.
Substrate preparation is the foundation for everything that follows. Clean, dry, flat, and structurally sound substrates prevent transition failures and ensure long-term performance. Dust, debris, moisture, and uneven surfaces compromise adhesion and create movement issues that destroy transitions prematurely.
Moisture testing cannot be overlooked, especially in kitchens and bathrooms. Concrete substrates must meet specific moisture limits before transitions are installed. Moisture-related failure is gradual but inevitable—transitions buckle, separate, or deteriorate when underlying moisture isn’t addressed first.
Surface levelling ensures transitions sit flush with surrounding floors. Even small height variations create tripping hazards and undermine the aesthetic finish. Patching and shimming correct minor inconsistencies before transition installation begins.
Precise measurement is non-negotiable. Transitions must fit exactly where they’ll be used. Measure twice, cut once applies directly here—incorrect cuts waste premium materials and delay projects.
Key installation steps include:
- Inspect the substrate thoroughly for moisture, debris, and structural integrity
- Level any uneven areas to ensure flush transitions
- Measure and mark precisely where each profile will sit
- Cut transitions to exact length, accounting for expansion room
- Fit dry before adhesive or fastening, confirming proper alignment
- Secure according to profile type and substrate conditions
- Test movement to confirm stability underfoot
Professional installer training programmes emphasise these practices consistently. Trained installers understand substrate preparation, moisture control, and precise fitting techniques that ensure durability and aesthetic quality across all transition types.
Brass profiles demand proper installation to deliver their full potential. The material’s durability means it outlasts many installation mistakes, but incompatible fastening methods or poor substrate prep can still compromise performance. Installers working with premium brass should receive clear guidance on mounting specifications, expansion allowances, and finishing details.
Installation failures commonly result from rushing substrate preparation or ignoring moisture issues, not from product limitations.
Many designers specify premium transitions only to see mediocre results from inadequate installation practices. Quality products demand quality installation. This isn’t negotiable if you want outcomes matching design intent and client expectations.
Pro tip: Provide installers with detailed specification sheets showing substrate requirements, moisture limits, measurement tolerances, and fastening methods specific to each transition type, preventing on-site improvisation that compromises performance.
Common Errors and Terminology Issues
Terminology confusion creates cascading problems throughout flooring projects. When designers, suppliers, and installers use different names for the same profile, specifications go wrong, wrong products arrive on-site, and installations fail. Clear terminology prevents costly mistakes.
Mixing up profile names tops the list of terminology errors. T-mould, T-bar, and T-molding refer to the same product, yet inconsistent naming causes confusion. Reducer, ramp, and step-down sound similar but serve different purposes. Threshold, door bar, and entry transition get used interchangeably when they’re not identical products.
One common specification error involves selecting a reducer when a ramp is actually needed. A reducer steps down between floors of different heights—it works when the height change is modest. A ramp, conversely, provides a gentler slope for greater elevation changes, improving accessibility. Using a reducer for a large height difference creates a dangerous trip hazard.
Ignoring material thickness variations causes misaligned transitions. Carpet is thicker than vinyl. Laminate sits differently than natural wood. When designers don’t account for these differences, transitions end up uneven, creating gaps or raised edges that catch feet.
Overlooking expansion requirements leads to another frequent problem. Different materials expand and contract at different rates due to temperature and humidity changes. Transitions need small gaps to accommodate this movement. Without proper expansion allowances, transitions buckle, separate, or crack under thermal stress.
Common installation errors include:
- Poor substrate preparation – Skipping moisture testing or surface levelling
- Inadequate expansion gaps – Installing transitions too tightly
- Misaligned profiles – Not ensuring flush, level installation
- Wrong fastening methods – Using incompatible adhesives or hardware
- Overlooking material compatibility – Selecting profiles unsuitable for specific flooring types
Inconsistent terminology usage frequently leads to specification errors that could have been prevented with clear communication and standardised naming conventions. Industry standards exist to address this problem.
Brass transitions reduce some installation variables. The material’s structural integrity means it tolerates minor substrate imperfections better than cheaper alternatives. However, improper terminology still leads to wrong product selection, defeating the material’s advantages.
Terminology errors are expensive because they’re discovered after products are purchased and installed, not during the specification phase.
Designers sometimes assume installers understand profile distinctions intuitively. They don’t. Providing written specifications with clear diagrams, material names, and profile types prevents misunderstandings that damage client relationships and project timelines.
Pro tip: Create a project-specific terminology glossary defining exactly which profile types you’re specifying, complete with product codes, dimensions, and installation requirements, ensuring all parties reference identical products throughout the project lifecycle.
Master Flooring Transitions with Quality Brass Profiles
The article highlights how confusion around flooring transition terminology and improper profile selection can lead to costly installation errors and safety hazards. Choosing the right transition profile such as a reducer, threshold, or T-mould and understanding compatibility with materials like carpet, laminate, or vinyl is critical. You want solutions that combine durability with aesthetic appeal while preventing trip hazards and maintaining seamless joins across varying floor heights.
At Quality Carpet Trims, we specialise in premium, hand-finished solid brass profiles designed precisely for these challenges. Our British-made door bars, thresholds, and edge trims come in 10 beautiful finishes that complement your interior designs while delivering exceptional performance against wear, moisture, and thermal expansion. We do not offer inferior aluminium, wooden, or PVC trims that fail under stress. Whether you are a designer, contractor, or DIY enthusiast, our comprehensive range ensures your flooring junctions are safe, durable, and visually flawless.

Ensure your flooring transitions match your project’s high standards today. Visit our landing page to explore our full product range. Request free samples, access expert advice, and discover how our solid brass trims help you apply the correct profiles exactly where needed. Don’t risk costly rework or safety issues — make the smart choice with Quality Carpet Trims now.
Frequently Asked Questions
What is a flooring transition?
A flooring transition is the physical connection between two different floor surfaces where they meet, serving both functional and aesthetic purposes by bridging gaps and managing height differences.
What are the different types of flooring transition profiles?
Common types of flooring transition profiles include T-moulds, reducers, thresholds, stair nosing, and ramps. Each serves specific applications, from connecting equal height floors to accommodating significant height differences.
Why is it important to understand flooring transition terminology?
Understanding flooring transition terminology is crucial to prevent errors in specification, avoid incorrect product orders, and ensure a successful installation, as each profile type has a distinct purpose.
How do I determine which transition profile to use for my flooring project?
To determine the correct transition profile, consider the height differences between adjoining flooring types, the location of the transition (e.g., doorways), and accessibility requirements. Accurate measurement and understanding of the materials involved are also essential.
Recommended
- What Is Carpet Transition? Achieving Seamless Floors
- transition strip, transition strips for uneven floors – Quality Carpet Trims
- Carpet To Tile Trim – Quality Carpet Trims
- Carpet to Tile Transition: Achieving Seamless Floors