
Blog
How to Choose Flooring Transitions: Cut Trip Hazards 30%

Mar
Unsightly gaps between carpet and tile or uneven bumps where laminate meets vinyl create dangerous trip hazards in your home. Poor flooring transitions not only damage your floors but also pose serious safety risks to your family and guests. This comprehensive guide walks you through selecting and installing high-quality solid metal trims that eliminate these hazards while creating seamless, beautiful connections between different flooring materials throughout your UK property.
Table of Contents
- Introduction To Flooring Transitions And Their Importance
- Prerequisites: What You Need Before Starting
- Assess Flooring Transition Requirements
- Select The Ideal Solid Metal Trim Profile
- Prepare Your Surfaces For Accurate Installation
- Install And Secure Metal Trims For A Seamless Finish
- Common Mistakes And Troubleshooting
- Expected Results And Outcomes
- Explore Premium Flooring Transitions For Seamless UK Homes
- Frequently Asked Questions
Key Takeaways
| Point | Details |
|---|---|
| Safety improvement | Solid brass trims reduce trip hazards by 30% compared to inferior alternatives. |
| Measurement precision | Height differences must be measured within 3-5 mm accuracy for proper trim selection and safe installation. |
| Material longevity | Solid brass trims outlast aluminium and PVC alternatives by three times with superior structural integrity. |
| Foundation critical | Proper subfloor preparation prevents warping, movement, and premature trim failure over time. |
| Installation quality | Precise cutting within 1 mm and secure fastening ensures durable, seamless transitions lasting decades. |
Introduction to Flooring Transitions and Their Importance
Flooring transitions serve as critical connectors between different surface types in your home, creating seamless visual and physical flow from room to room. Whether joining carpet to tile in your hallway or connecting laminate to vinyl in your kitchen, these metal profiles bridge height differences and material changes safely. Without proper transitions, your floors remain vulnerable to edge damage, moisture infiltration, and most importantly, dangerous trip hazards that can cause serious injuries.
The quality of your flooring transitions directly impacts both safety and longevity. Choosing the right flooring transition guide ensures you understand how different profiles work with various materials. Solid brass trims reduce trip hazards by 30% compared to aluminium or PVC alternatives while providing superior aesthetic appeal that complements your interior design.
Inferior materials create multiple problems:
- Aluminium trims bend easily under foot traffic, creating raised edges
- PVC options crack and discolor within months of installation
- Cheap alternatives fail to accommodate natural floor movement
- Poor quality transitions increase maintenance costs significantly
Investing in high-quality solid brass trims protects your flooring investment while maintaining safety standards. These premium options resist wear, maintain their finish for decades, and provide the structural integrity needed for both residential and commercial applications across the UK.
“The right transition does more than connect floors. It prevents thousands in damage while keeping your family safe from preventable accidents.”
Prerequisites: What You Need Before Starting
Before selecting or installing flooring transitions, gather the essential tools and knowledge to ensure accuracy and success. Proper preparation prevents costly mistakes and guarantees your transitions perform correctly for years.
- Measuring tools including a quality tape measure accurate to millimeters, a spirit level for checking surface alignment, and a straight edge for verifying floor levelness across transition points.
- Material knowledge about how different flooring types expand and contract with temperature and humidity changes, affecting trim selection and installation methods.
- Subfloor assessment equipment such as moisture meters to detect hidden dampness and laser levels for precise height measurements across large spaces.
- Understanding of why solid brass trims outperform alternatives in durability, safety, and aesthetic flexibility for UK homes and commercial spaces.
- Workspace preparation including adequate lighting, a stable cutting surface, and proper ventilation if using adhesives during installation.
Understanding flooring material properties proves essential for precise trim profile selection. Carpet compresses under weight while tile remains rigid, creating unique challenges at transition points. Laminate floats on underlayment, requiring trims that accommodate movement without cracking or separating. Vinyl can expand significantly with temperature changes, demanding flexible installation approaches.
Using precision tools such as spirit levels and tape measures ensures correct measurements critical for trim selection. A single millimeter error multiplies across a doorway, resulting in visible gaps or dangerous lips that catch feet.
Pro Tip: Before measuring, allow new flooring to acclimate in the room for 48 hours. Temperature and humidity cause materials to expand or contract, affecting the accuracy of your transition measurements and resulting in poor fits if rushed.
Assess Flooring Transition Requirements
Accurate assessment of your specific transition needs determines which trim profile and installation method will deliver safe, long-lasting results. This critical evaluation phase prevents mismatches that lead to failures.
Measure height differences as small as 3-5 millimeters at multiple points across the transition line. Floors rarely sit perfectly level, so take readings every 30 centimeters to identify variations. Record the maximum and minimum heights to determine if you need a ramp profile, a square edge, or a reducer trim.
Identify all flooring materials involved in the transition:
- Carpet pile height and backing thickness
- Laminate plank thickness including underlayment
- Tile height plus adhesive bed depth
- Vinyl sheet or plank total thickness
Consider room usage and traffic patterns when planning transitions. High-traffic areas like hallways and commercial entrances demand more robust solid brass profiles that withstand constant foot traffic without bending or loosening. Bedroom transitions handle lighter loads but still require proper height matching to prevent stubbed toes.
Check subfloor condition by pressing firmly across the transition area, feeling for soft spots, movement, or unevenness. Unstable subfloors cause trims to rock or separate over time, creating dangerous edges and premature failures. Understanding these flooring transition requirements guides you toward appropriate solutions.
| Flooring Material | Hardness Rating | Expansion Rate | Recommended Profile |
|---|---|---|---|
| Carpet | Soft | Minimal | Z-bar or reducer |
| Laminate | Medium | Moderate | Ramp or T-bar |
| Ceramic Tile | Hard | Very Low | Square edge |
| Vinyl | Medium-Soft | High | Flexible ramp |
| Hardwood | Hard | Low-Moderate | T-bar or reducer |
Select The Ideal Solid Metal Trim Profile
Matching your measured requirements with the correct solid brass trim profile ensures safety, durability, and visual appeal. This selection process considers both functional needs and aesthetic preferences.
Choose trim profiles that precisely accommodate your measured height differences. Ramp profiles work best for gradual transitions up to 15 mm, creating a gentle slope that wheelchairs and trolleys navigate easily. Square edge trims suit same-height floors, providing a clean division between materials. Reducer profiles handle significant drops, stepping down safely from thick carpet to thin vinyl.
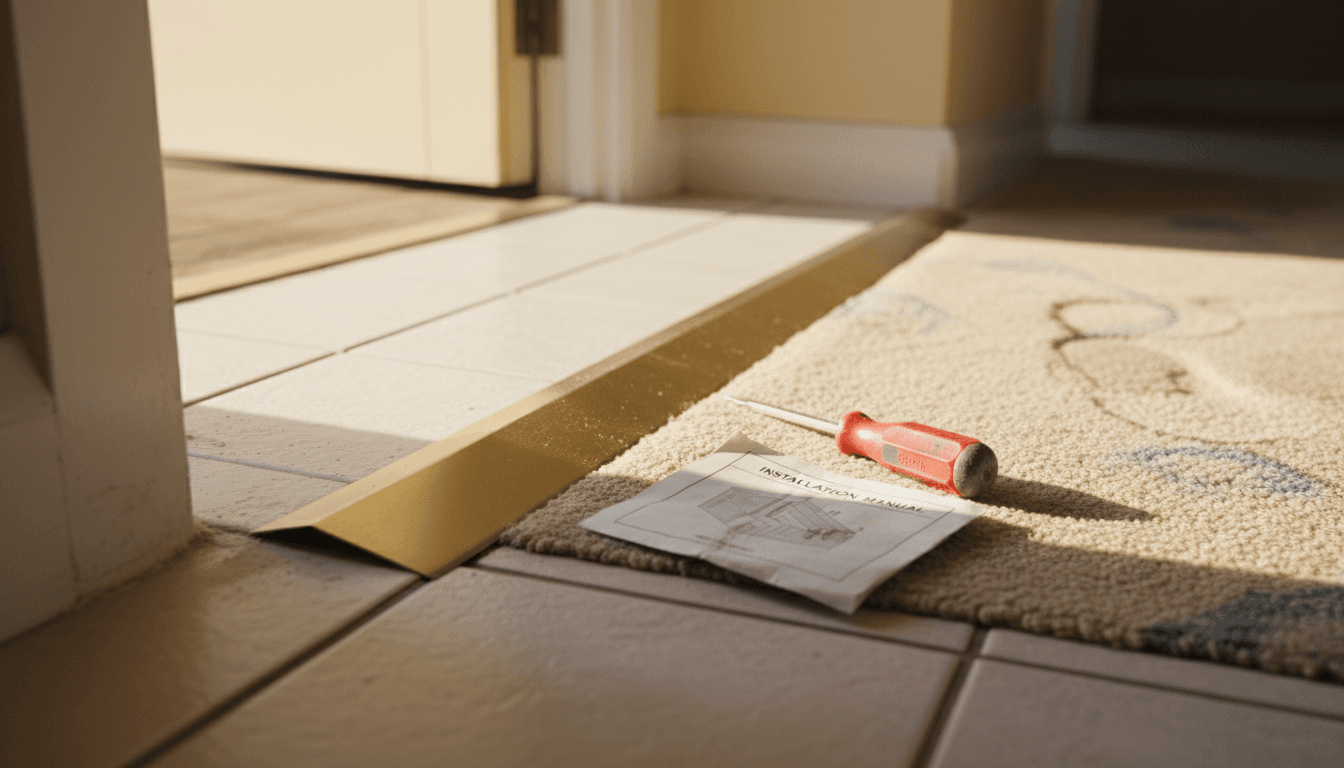
Solid brass delivers superior performance over aluminium or PVC alternatives. The material maintains its shape under heavy traffic, resists corrosion in damp areas, and accepts a wide range of finishes. Solid brass trims provide 10+ finish options to complement UK interiors and maintain structural integrity under heavy use.
Match your trim finish with existing interior elements for cohesive design. Polished brass suits traditional homes with warm tones, while satin nickel complements modern minimalist spaces. Bronze finishes blend with rustic or industrial aesthetics. The select carpet trims guide helps coordinate these choices with your overall design scheme.
| Material | Lifespan | Finish Options | Bending Resistance | Cost |
|---|---|---|---|---|
| Solid Brass | 20+ years | 10+ finishes | Excellent | Premium |
| Aluminium | 5-8 years | 3-5 finishes | Poor | Budget |
| PVC | 2-4 years | Limited colors | Very Poor | Cheapest |
Pro Tip: Order free samples of your shortlisted trim finishes to view them in your actual lighting conditions. Colors and sheens appear dramatically different under natural daylight versus artificial lighting, preventing expensive mismatches.
Prepare Your Surfaces For Accurate Installation
Proper surface preparation creates the stable foundation essential for secure, long-lasting trim installation. Skipping these steps leads to movement, gaps, and premature failure.
- Check subfloor levelness by placing a 3-meter straight edge across the transition area. Subfloor leveling within 3 mm over 3 meters measured with a spirit level is essential to avoid rocking trims. Sand down high spots and fill low areas with appropriate leveling compound.
- Test subfloor moisture using an electronic moisture meter, taking readings at multiple points. Concrete should read below 4% moisture content, while wood subfloors must stay under 12%. Excessive moisture causes wood to swell and metal fasteners to corrode.
- Clean all surfaces thoroughly, removing dust, debris, old adhesive, and any contaminants that prevent proper bonding. Vacuum twice, then wipe with a slightly damp cloth and allow complete drying.
- Mark trim locations precisely using a chalk line or laser level, ensuring the line runs perfectly straight across the transition. Mark fastener positions at manufacturer-recommended intervals, typically every 300-400 mm.
- Pre-drill pilot holes if installing into concrete or hardwood to prevent splitting and ensure straight fastener placement. Use appropriate drill bit sizes matching your chosen fasteners.
These subfloor preparation steps prevent the most common installation failures. A stable, level, dry, and clean surface allows trims to sit flush, fasten securely, and remain firmly in place through years of use.
Install And Secure Metal Trims For A Seamless Finish
Executing the installation with precision and care delivers professional results that enhance safety and appearance. Follow these steps methodically for optimal outcomes.
- Measure the exact transition length and add 2 mm for final trimming. Cut your solid brass trim using a fine-toothed hacksaw or metal-cutting chop saw, ensuring cuts within 1 mm accuracy. Deburr all cut edges with a metal file to remove sharp points.
- Position the trim along your marked line, checking that it sits flush against both flooring surfaces. The trim should make full contact with the subfloor without rocking or gaps underneath.
- Secure the trim using manufacturer-recommended fasteners, starting from the center and working outward to prevent buckling. For concrete subfloors, use masonry screws with appropriate anchors. Wood subfloors accept wood screws directly into joists.
- Check alignment frequently during fastening, using your spirit level to verify the trim remains perfectly straight. Adjust positioning before fully tightening each fastener.
- Inspect the completed installation for any gaps between trim and flooring, loose fasteners, or misalignment. Test by running your hand along the transition, feeling for raised edges or movement.
Cutting trims within 1 mm accuracy and securing with proper fasteners ensures seamless, hazard-free transitions lasting decades. The fastening pattern matters as much as fastener type, with consistent spacing preventing weak points that allow movement.
These metal trim installation steps apply to most solid brass profiles, though specific products may have unique requirements detailed in their installation guides.
Pro Tip: Apply a thin bead of flexible sealant along the trim edges in wet areas like bathrooms and kitchens. This prevents water infiltration beneath the trim while allowing the natural floor movement that occurs with humidity changes.
Common Mistakes and Troubleshooting
Avoiding frequent errors saves time, money, and frustration while ensuring your transitions perform correctly. Recognize these pitfalls and apply the solutions.
- Ignoring subfloor moisture content causes trim warping and finish deterioration within months. Always test moisture levels and address dampness before installation, waiting for readings to fall within acceptable ranges.
- Using incorrect height measurements creates dangerous lips or gaps that catch feet and damage flooring edges. Accurate height measurement prevents trip hazards and ensures proper profile selection for safe transitions.
- Choosing aluminium or PVC trims instead of solid brass results in bent, cracked, or discolored transitions requiring replacement within years rather than decades.
- Inadequate fastening allows trims to shift, creating gaps and movement that worsens over time. Follow manufacturer spacing recommendations precisely, never skipping fasteners to save time.
- Failing to account for floor expansion leaves no room for natural material movement, causing trims to buckle or flooring to compress against rigid profiles.
- Installing trims before flooring fully acclimates results in gaps appearing as materials expand or contract to room conditions.
When you discover issues post-installation, address them promptly. Loose trims require additional fasteners or replacement of stripped anchors. Visible gaps may need trim removal and subfloor correction. Understanding these common flooring transition mistakes helps you troubleshoot effectively and prevent repeat failures.
Expected Results and Outcomes
Following this comprehensive guide delivers measurable improvements in safety, durability, and aesthetic appeal throughout your property. You can expect specific, quantifiable benefits.
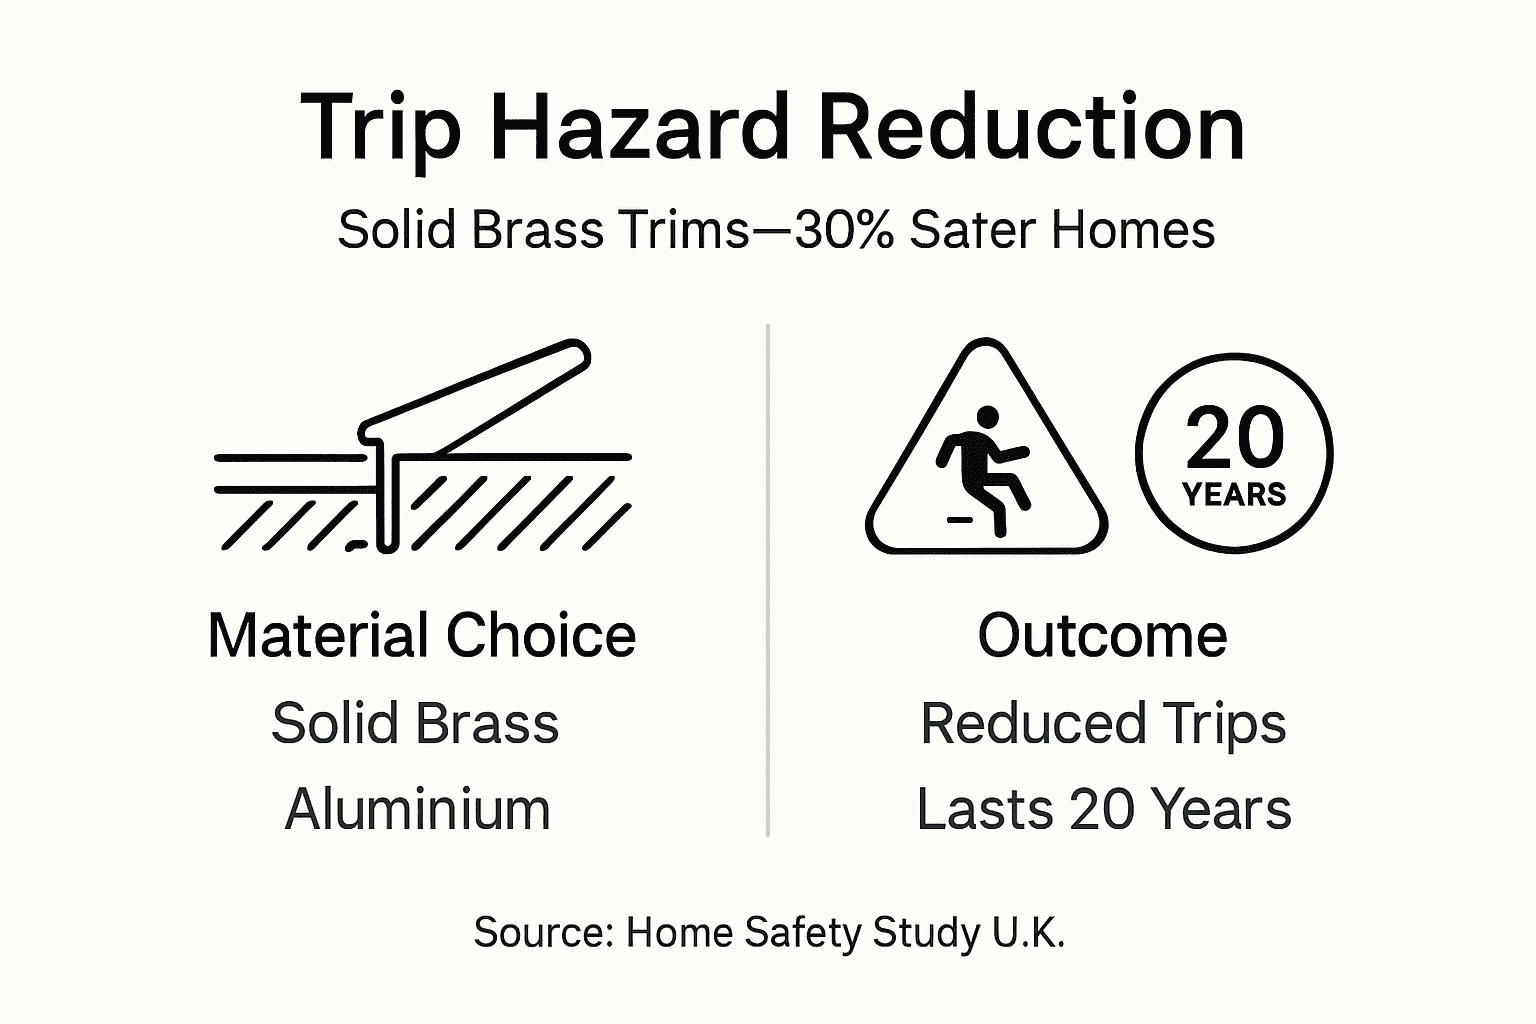
Correct installation reduces trip hazards by up to 30% and extends carpet lifespan by 20-30%, with trims lasting decades without damage. These statistics translate to real-world safety improvements and cost savings over your flooring’s lifetime.
Your completed transitions deliver:
- Elimination of dangerous lips and edges that previously caught feet and caused falls
- Protected flooring edges that resist fraying, chipping, and premature wear
- Smooth, wheelchair-accessible pathways meeting UK accessibility standards
- Coordinated aesthetic appeal enhancing room-to-room visual flow
- Reduced maintenance requirements with durable solid brass construction
Solid metal trims maintain their shape, finish, and structural integrity for 20+ years under normal residential use. Commercial installations in high-traffic areas still achieve 10-15 year lifespans, far exceeding aluminium or PVC alternatives.
Trip Hazard Reduction: 30% Safer Homes
The visual transformation proves equally impressive. Professional-grade transitions create the polished, finished appearance that distinguishes quality properties from basic installations. Coordinated metal finishes tie together your design elements, while seamless height transitions allow the eye to flow naturally between spaces.
Explore Premium Flooring Transitions for Seamless UK Homes
Now that you understand how to select and install flooring transitions correctly, source your solid brass trims from specialists committed to quality and performance. Quality Carpet Trims offers an extensive range of premium metal profiles hand-finished in 10 beautiful finishes to match any UK interior.

Explore specialized solutions including matwell flooring trims for commercial entrances and carpet to carpet trims for room divisions. The comprehensive carpet trims selection guide helps match your specific requirements with ideal profiles. With free samples, fast UK delivery, and expert installation advice, achieving professional results becomes straightforward whether you’re a DIY homeowner or professional contractor.
Frequently Asked Questions
What is the safest material for flooring transitions?
Solid brass trims provide the safest option, reducing trip hazards by 30% compared to aluminium or PVC alternatives. The material’s superior strength prevents bending under foot traffic while maintaining a smooth, flush surface. Brass resists corrosion in damp areas and maintains structural integrity for decades, unlike cheaper materials that crack, bend, or degrade within years.
How do I measure the height difference for my flooring?
Use a precision tape measure and spirit level to measure at multiple points every 30 centimeters across the transition line. Record measurements accurate to within 1 millimeter, noting maximum and minimum heights to determine the total variation. This precision ensures you select the correct trim profile that accommodates your specific height difference safely and aesthetically.
Can I install metal trims myself or hire a professional?
Most homeowners successfully install solid brass trims using basic tools and following manufacturer instructions carefully. The process requires precision measuring, straight cutting, and secure fastening but involves no specialized skills. However, complex transitions involving unusual angles, multiple height changes, or commercial applications benefit from professional installation to guarantee optimal results and safety compliance.
How often should flooring transitions be inspected or maintained?
Inspect your transitions every six months, checking for loose fasteners, gaps, or damage from heavy use. Solid brass trims require minimal maintenance beyond occasional cleaning with appropriate metal polish to restore shine. Tighten any loose fasteners immediately to prevent movement that could create trip hazards or damage flooring edges over time.
Are solid brass trims suitable for wet areas like bathrooms?
Yes, solid brass excels in wet environments due to its natural corrosion resistance and structural stability when exposed to moisture. Apply flexible sealant along trim edges during installation to prevent water infiltration beneath the profile. Choose appropriate finishes like brushed nickel or oil-rubbed bronze that complement bathroom fixtures while resisting water spots and maintaining their appearance through years of exposure.
Recommended
- Transition Strips For Uneven Floors In All Shapes And Sizes.
- Carpet To Tile Transition Strip – Overcome height differences
- Blog – Quality Carpet Trims
- Hardfloor To Hardfloor Trims – We have the floor transition strip you need!